Support
If you need technical support, please raise a ticket in your customer portal (login button above),
or give us call on 01323 380260 or email ask@LightningFibre.co.uk.
The WiFi-key is your WiFi password.
Your WiFi network name and password are printed on the label on the bottom of your new router. You can scan the QR code with a device to connect instantly without typing your password. Additional copies of this label are included in the router box. The label shows:
If your internet stops working, try these steps before calling us. You don’t need internet access to follow them.
- Step 1 - Check the ONT: Look at the LEDs on your ONT. The Power, Optical, and 2.5GE lights should all be green. If the Optical light is red or off, there may be a network issue on our side — please call us. If the 2.5GE light is off, check that the cable between the ONT and router is securely plugged in at both ends.
- Step 2 - Check your router: Is the Status LED solid green? If so, the router thinks everything is fine — the issue may be with your device. If it’s blinking green, the router has no internet connection — check the cable to the ONT. If it’s solid yellow, WiFi may be turned off — press and hold the Mode button until the light turns green. If it’s red, please contact us.
- Step 3 - Restart your router: Switch the router off using the ON/OFF switch on the back, wait 30 seconds, then switch it back on. Wait a couple of minutes for the Status LED to turn solid green.
- Step 4 - Check your device: Try connecting a different device to your WiFi to see if the problem is with one particular device. You can also try restarting the device that’s having trouble, or “forgetting” the WiFi network in your device settings and reconnecting using the password.
- Step 5 - Check the extender, if you have one: If the extender’s Status LED is blinking green for more than 5 minutes, it’s having trouble connecting to the router. Try moving it closer to the router, or check the cable connection if it’s wired. If the light is red, please contact us.
WiFi connections introduce a number of factors that can often result in you seeing lower speeds than you get from a device plugged directly into the router. There are a few things you can do to ensure that you are getting the best WiFi signal possible:
- Device Location: The placement of your wireless device in relation to your router plays a big part in your connection stability and speed. By being within a few metres, you can get a good connection for most devices.
- Surroundings: Please try to limit the items or other devices in close proximity your router. This could include other WiFi-enabled devices, solid metal objects and fish tanks. It is best to avoid positioning the router behind a TV, or inside a cupboard.
- Router Placement: Please ensure that your router is positioned off the floor or wall-mounted and as upright as possible. This should help to maintain wireless coverage across the property.
- Wireless Extenders: These can be a useful tool to extend a wireless signal beyond the capabilities of the wireless router alone. If you are struggling with a poor wireless connection in certain areas, placing an extender roughly halfway between the router and that location may go some way to remedying this.
- One thing to note is that if the WiFi connection is already good, adding an extender will not help. Plugging in an extender in the same room or near the router is highly likely to introduce interference.
- Signal Strength: Your router broadcasts WiFi on two frequency bands: 5 GHz and 2.4 GHz. Both bands use the same network name (SSID), and your devices automatically choose which band to connect to based on signal strength and performance.
5 GHz is faster but more affected by walls and obstacles. 2.4 GHz reaches further and travels through walls more easily, but is slower and more prone to interference from household electronics.
If you use Lightning Fibre WiFi extenders, the router and extenders create a mesh network, allowing your devices to stay connected as you move around your home.
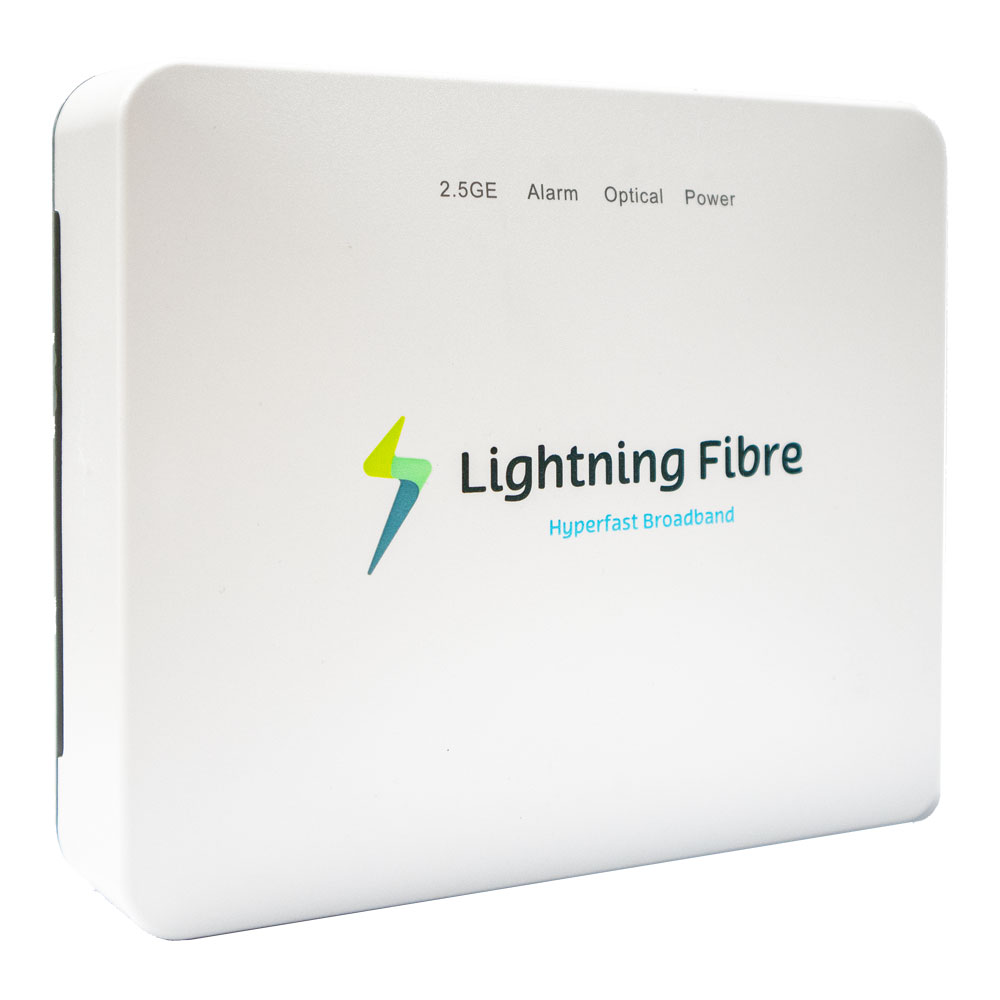

Our installation team have installed an ONT (Optical Network Terminal or Optical Modem).
Our fibre cable comes into your home and connects directly into the ONT, allowing us to deliver your full fibre service.
It is important that you do not move or alter your ONT. The only device plugged into the ONT should be your router.
You should never need to adjust your ONT unless directed by us.
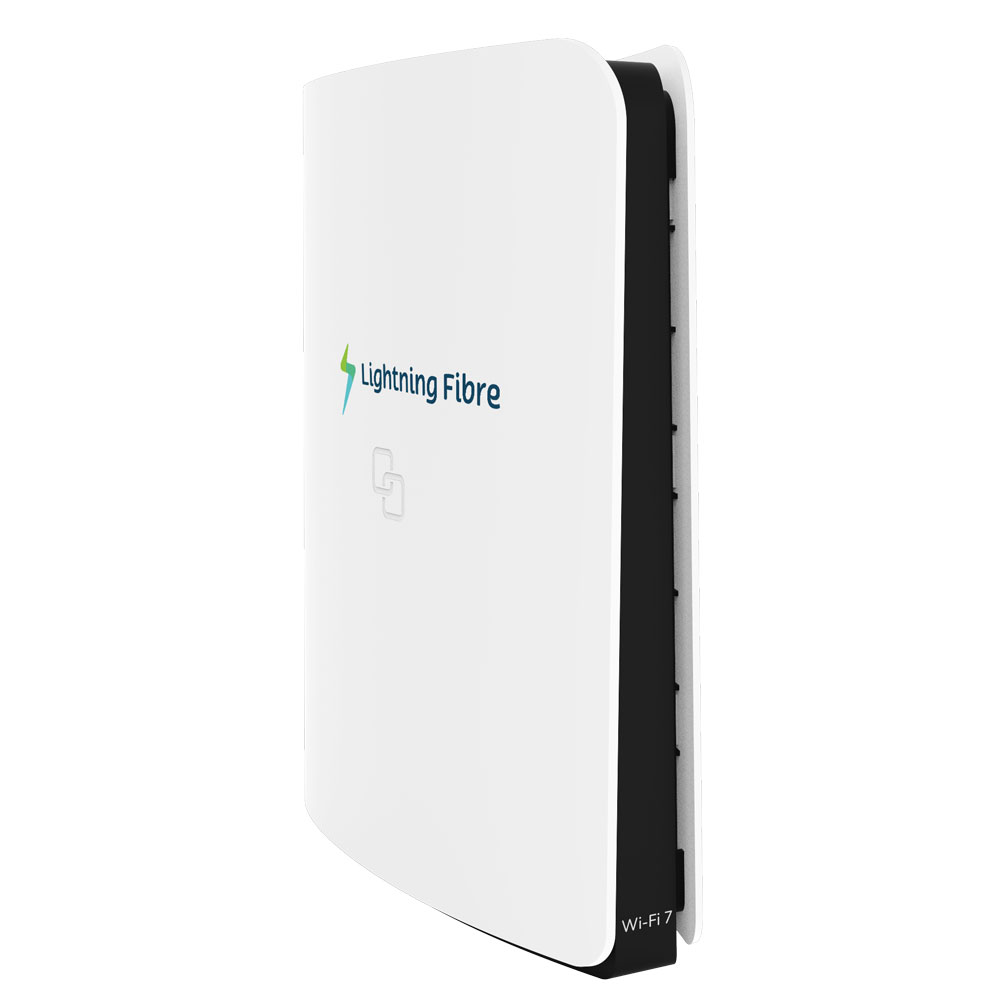
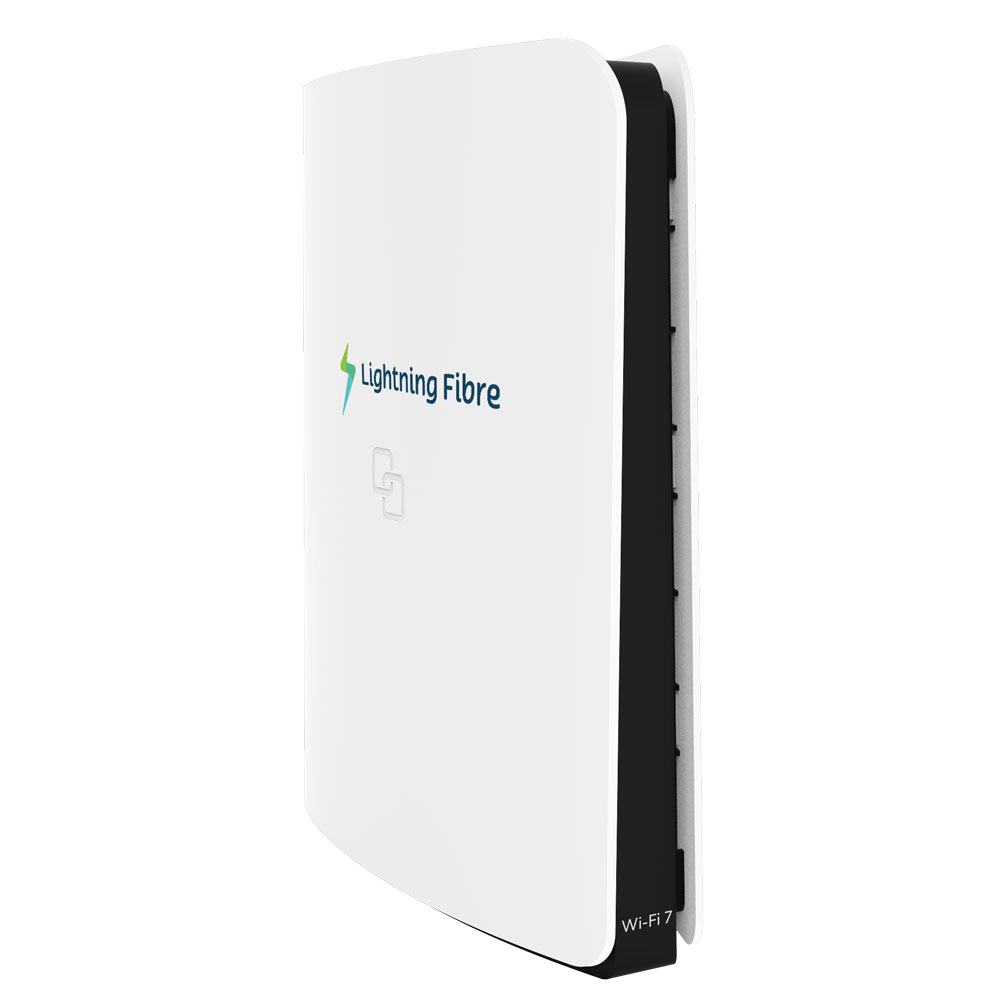
Your WiFi 7 router plugs into the ONT and all your devices should connect to the router via a WiFi or wired connection.
For the fastest, most reliable service, plug a network cable into one of the yellow LAN ports on your router and the other end into your device. WiFi speeds are dependent on a compliant device and good wireless conditions.
If you would like to use your own router, please see the section below entitled “Can I use my own Router” or contact our team.

- On/Off switch
- Power port - Make sure the power cable is pushed in firmly
- USB port - Not currently used.
- WAN port (2.5Gbps) - This connects your router to your ONT using the supplied Ethernet cable. Do not unplug this.
- Lan ports 1 and 2 (2.5Gbps) - Use these to connect devices directly using an Ethernet cable.
- Lan ports 3 and 4 (1Gbps) - Use these to connect devices directly using an Ethernet cable.
- Telephone port - If you have Lightning Voice, your phone connects here via the supplied adapter.
- Reset button - Do not use unless asked to do so by our customer support team. Pressing this will reset your router to its default factory settings.
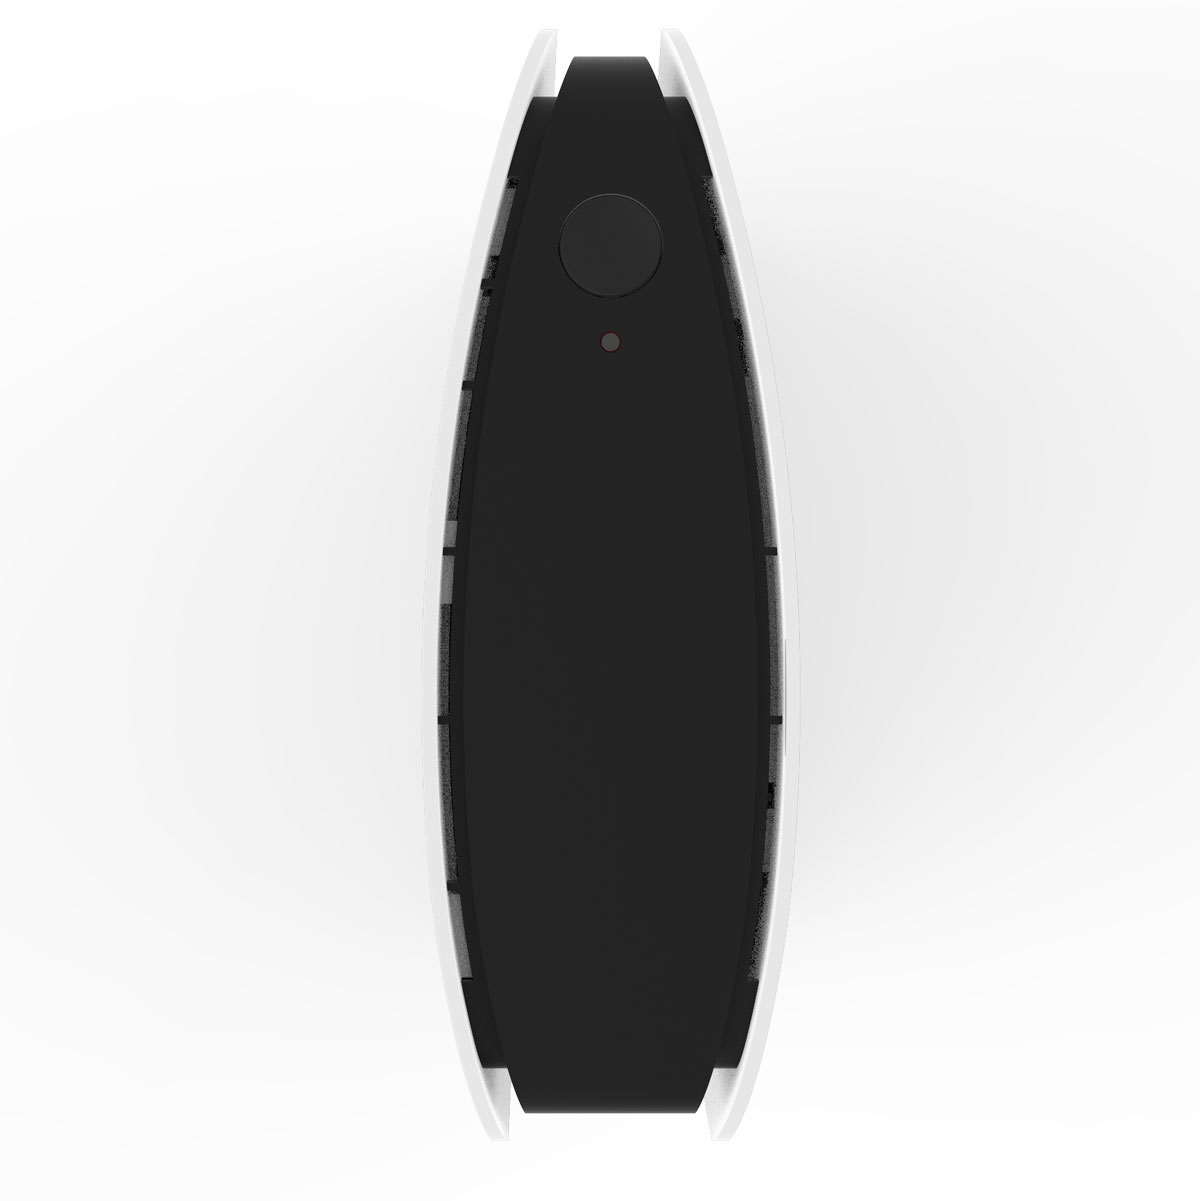
Mode Button
- Press and release once: start WPS/extender pairing.
- Press and hold until the LED turns green: turn WiFi on.
- Press and hold until the LED turns solid yellow: turn WiFi off.
What the Status LED means
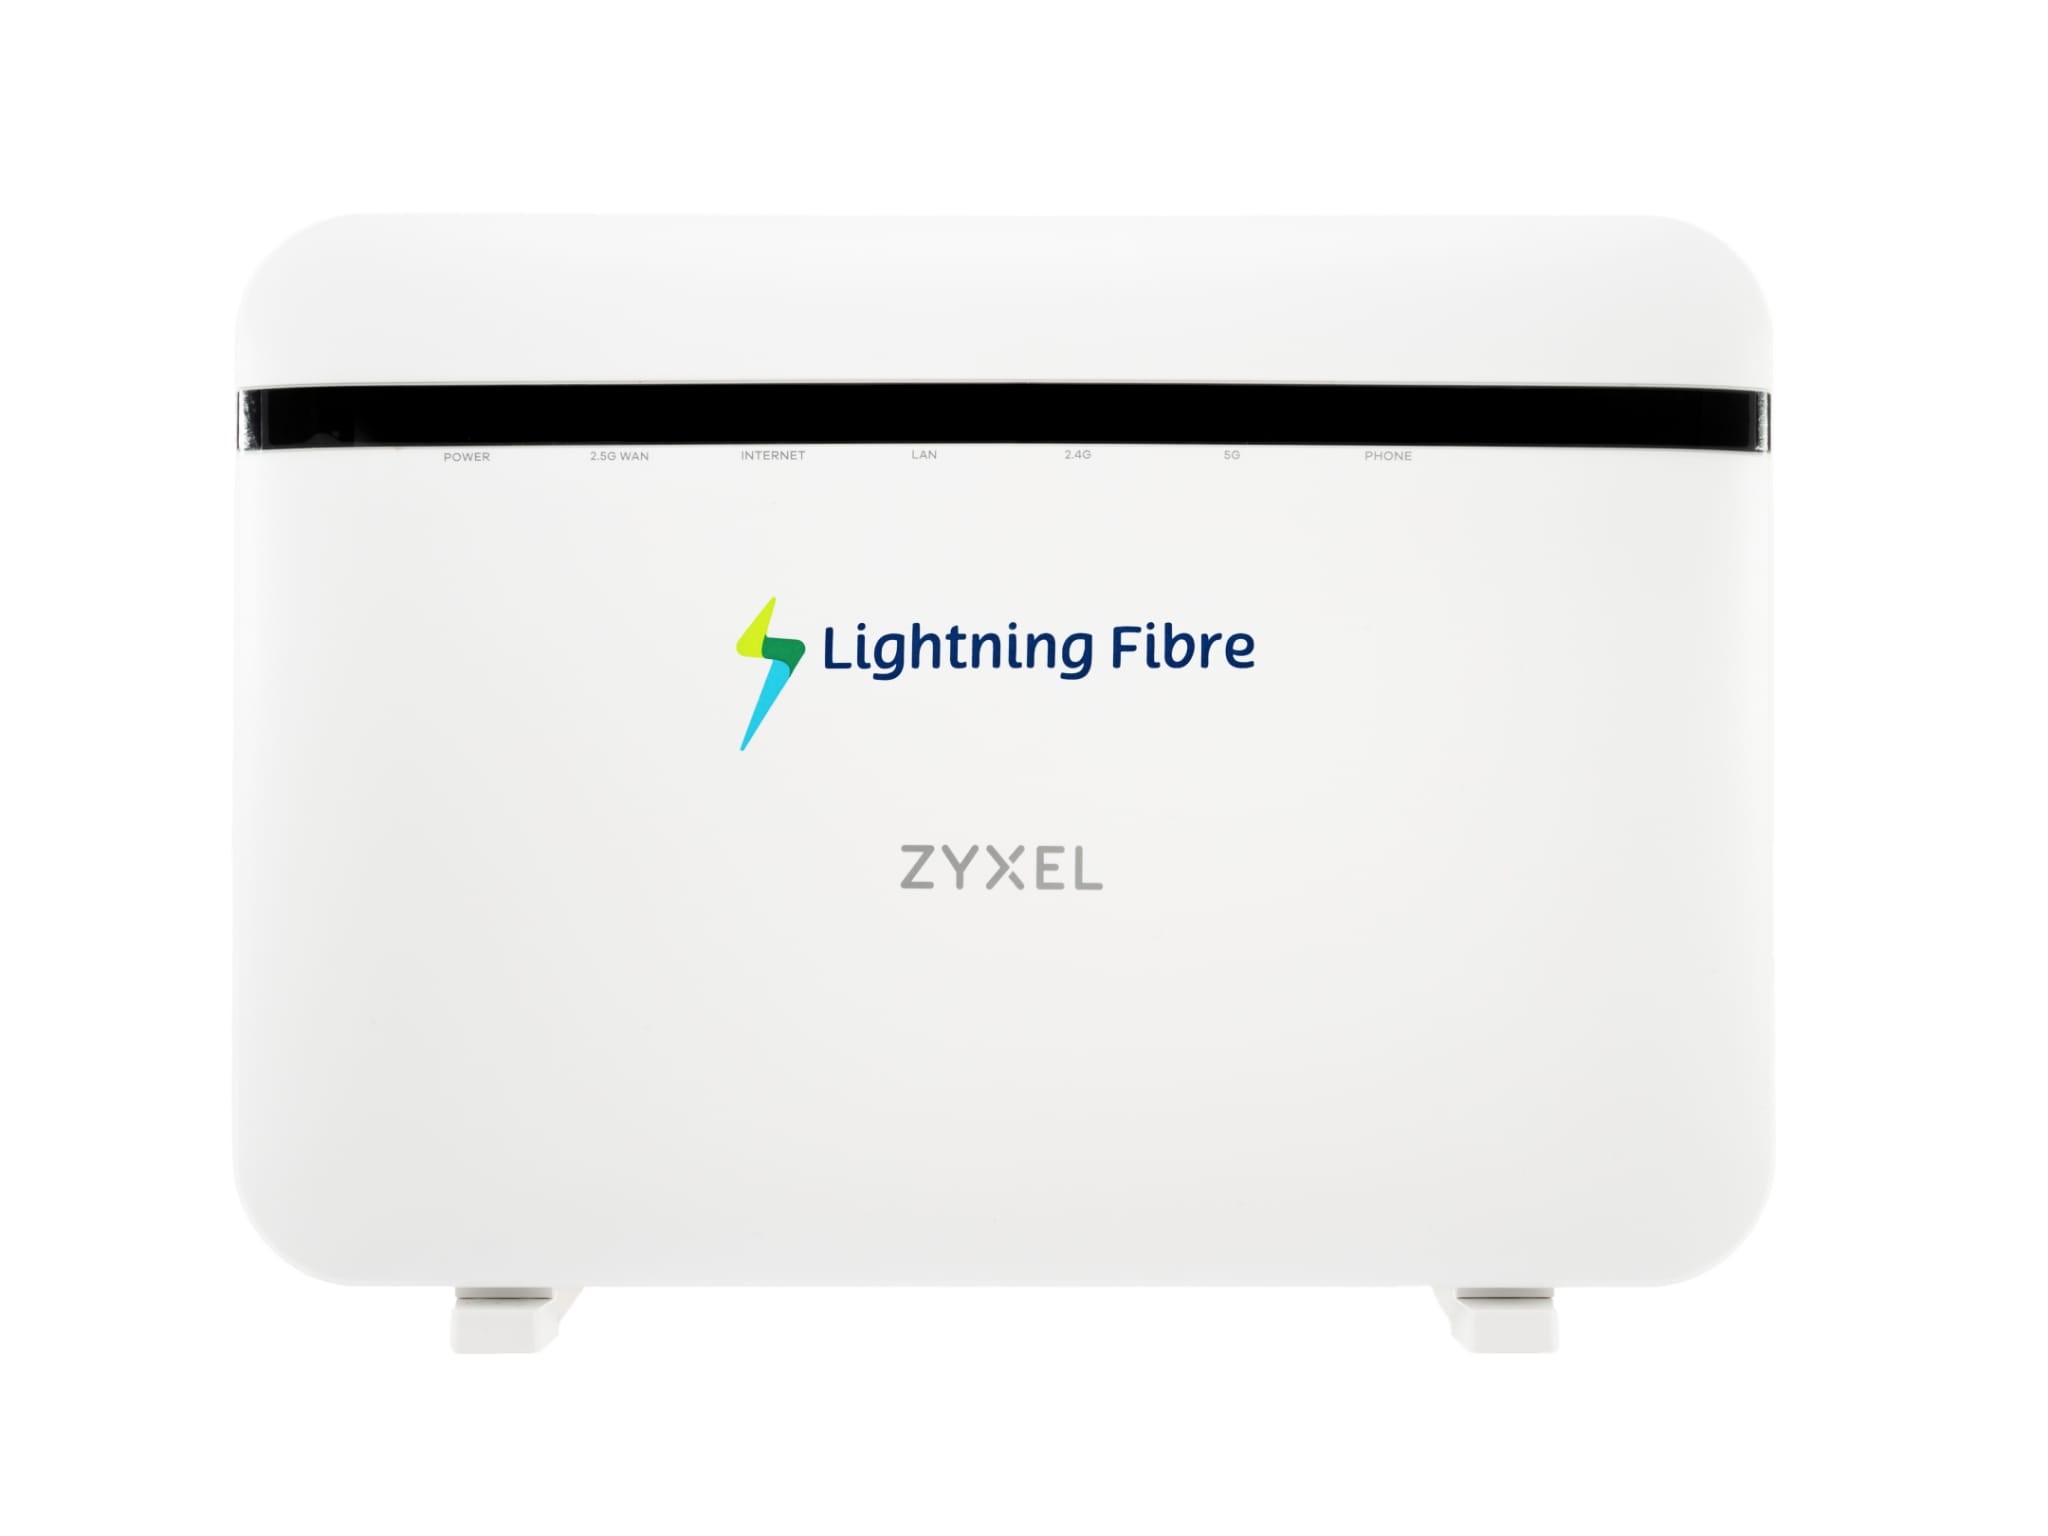

This wireless router supports dual-band wireless WiFi 6 (ax) technology, allowing you to enjoy superior connectivity with extremely low latency.
The router plugs into the ONT to receive its connection, in turn all your devices should connect to the router, be that via WiFi or a wired connection.
- SSID: This is the name of your WiFi Network.
- Wireless Key: This is your WiFi password.
There are a number of ports labelled LAN 1-4, into which you can plug any wired devices for the best possible connection. LAN port 1 supports speeds up to 2.5Gbps, whilst ports 2-4 supports speeds up to 1Gbps.
If you wish to use your own router, please see our guide on the website or talk to our customer support team.
If you have ordered our Lightning Voice (digital virtual landline service) you will be provided with a phone adapter which plugs into the phone port in the router. Plug your own phone into that adapter.
1. Power
2. 2.5G WAN
3. Internet
4. LAN
5. 2.4G
6. 5G
7. Phone
Yes, we allow our customers to use their own router if desired. Whilst Lightning Fibre cannot guarantee inter-operability with any third-party routers, our network operates using fully standards-based technology and thus most routers or firewalls should work on our network with a few changes to the default settings.
Please note that our troubleshooting ability may be limited when a third-party router is in place, although we will do our best to help resolve any issues that might arise. The Lightning Fibre router may be required in order to test your connection.
If you have a Lightning Fibre supplied router and you subsequently use your own router, please retain our one as this will need to be returned to us when your contract ends or you may incur a fee.
Whilst you can use your own router, you may not use your own modem. The provided ONT (fibre modem) is an integral part of your broadband service and should not be disconnected or replaced. We do not support the use of third-party ONTs on our network.
Any third-party routers must support the following:
- DHCP for IPv4 address assignment, including customers with a static IP, on an ethernet WAN port. This should be connected to the ONT/fibre modem’s ethernet port. PPPoE is not used, so no PPPoE username or password is required to connect your router to our network.
- Performing NAT such that only a single device/MAC at any one time is seen to request an IPv4 address.
- Ethernet auto-negotiation.
We do not recommend connecting anything other than a router or firewall to the ONT.

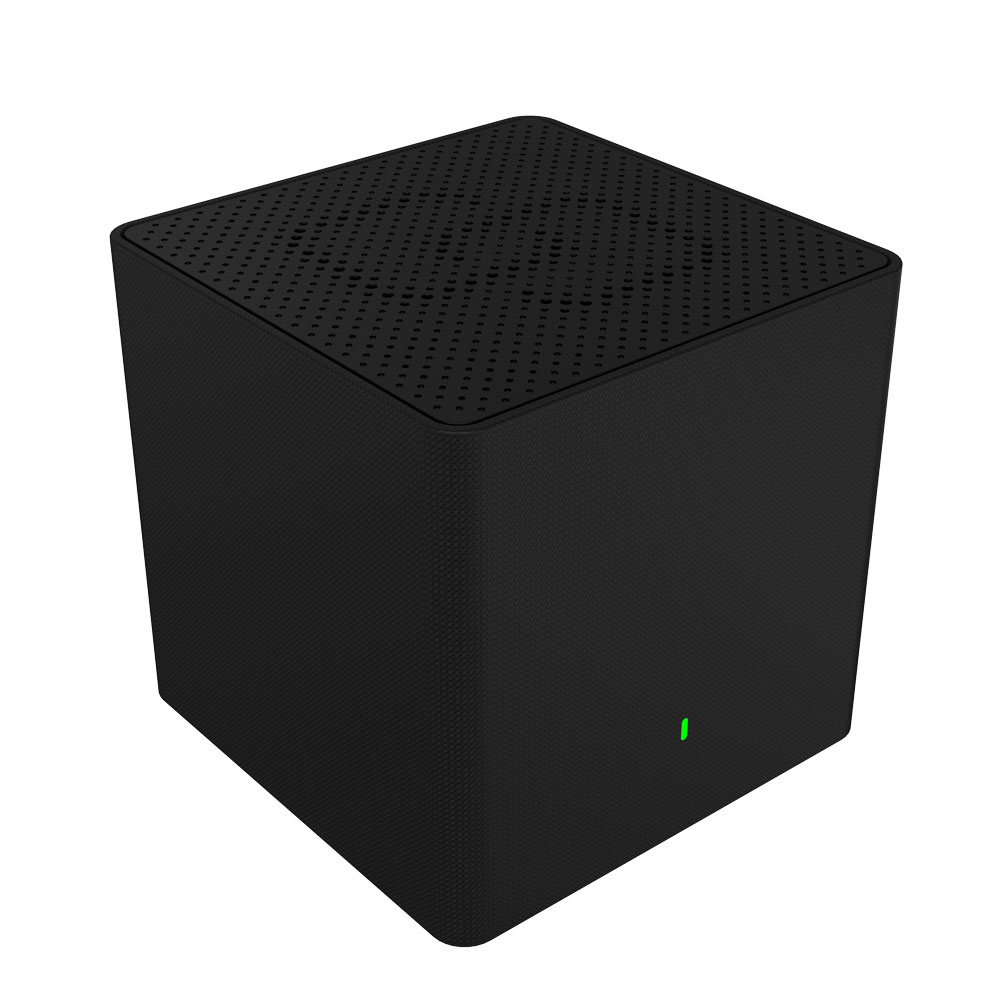
If you have a Lightning Fibre extender, to provide better WiFi coverage to deadspots around your property, this communicates wirelessly with your router, but requires power.
Your engineer will normally set up your extender during installation. If you ever need to set it up again, for example after a factory reset, or if you get a new extender, there are two ways to do it.
Option 1 - Wirelessly (most common)
- Place the extender roughly halfway between your router and the area with poor WiFi coverage. It needs to be within range of the router’s WiFi signal.
- Plug in the power adapter and switch it on.
- Wait until the Status LED blinks green. Press and release the WPS button on the extender once. The light will start blinking blue.
- Within two minutes, press the Mode button on your router once.
- Wait for the pairing to complete. The extender light will turn solid blue, then the extender will restart automatically.
- When the light settles on solid green, your extender is ready.
[IMAGE: WIFI_EXTENDER_PLACEMENT_DIAGRAM] Add the placement diagram here: router on one side, extender in the middle, problem area on the other side.
Option 2 - Using a network cable
- Run a network cable from a yellow LAN port on your router to the red WAN port on the extender.
- Plug in the power adapter and switch the extender on.
- Wait for the Status LED to stop blinking and turn solid green. This may take a few minutes as the extender configures itself.
Tip: If using the extender wirelessly, don’t place it too close to the router, as this can actually cause interference rather than help, or too far away, as it won’t get a strong enough signal. Halfway to the problem area is usually the sweet spot.

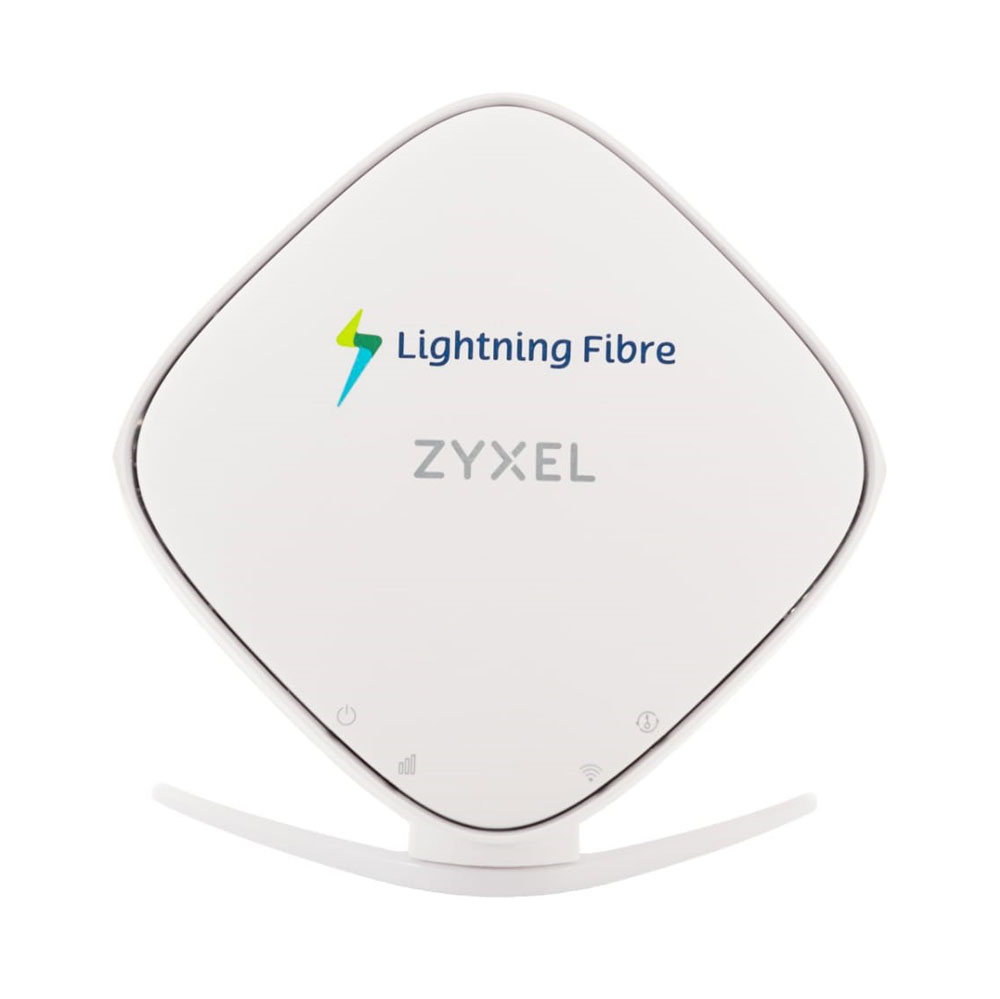
If you have a Lightning Fibre extender, to provide better WiFi coverage to deadspots around your property, this communicates wirelessly with your router, but requires power.
Your Lightning Voice digital virtual landline service (VoIP) has a range of features similar to a traditional landline, including voicemail, call barring and caller ID controls. These can be managed by dialling the codes below or through your customer portal.
Do Not Disturb
Reject all incoming calls. Calls automatically go to voicemail if active, otherwise callers hear a busy tone. To activate: *261* / deactivate: #261#
Reject Anonymous Calls
Reject calls with no or withheld caller ID. To activate: *227* / deactivate: #227#
Activate voicemail
Callers are sent to voicemail when you are on another call, do not answer, or have ‘Do Not Disturb’ enabled. to activate: *1571* / deactivate: #1571#
Access Voicemail
Dial 1571 to listen to and manage your messages.
You can divert incoming calls to a different number, for example your mobile number, meaning you never miss another call. To activate this function enter *21* and follow the voice prompt, to deactivate, enter #21#.
Withhold Caller ID on all Calls
Permanently hide you number from anyone you call. To activate: *141* / deactivate: #141#
Release Caller ID for a Single Call
If you are permanently withholding your number and would like to release your number for a single call, dial 1470 followed by the number you would like to call to show your caller ID for that call only.
Withhold Caller ID for a Single Call
If you’re not withholding your number permanently and would like to withhold your number for a single call, dial 141 followed by the number you would like to hide your caller ID for that call only.
Last Caller ID
Dial 1471 to hear the number of your last caller. Press 3 to have the number repeated.
Erase Last Caller ID
Dial 1475 to remove the record of your last received call.